Why Is My Refrigerator Leaking Water? Causes & Fixes
Discovering a puddle of water beneath your refrigerator can be an alarming sign that something isn’t working properly. Whether it’s a small drip or pools of water spreading across your kitchen floors, refrigerator water leaks demand immediate attention to prevent costly water damage to your home. Water leakage from your fridge can stem from various sources – from simple condensation issues to more complex problems with internal components. Understanding the common reasons behind refrigerator water leaks can help you identify the cause and determine whether it’s a quick DIY fix or if you need professional assistance. This article will guide you through the possible causes of a leaky fridge and provide practical solutions to address the issue before it leads to more serious problems like mold growth or damage to your major appliance.
Common Causes of Refrigerator Leaks
Clogged Defrost Drain
What Causes a Clogged Defrost Drain?
The defrost drain is an essential component that allows water from the automatic defrost cycle to flow down to a drain pan. Over time, food particles, debris buildup, and ice can block this pathway. When the defrost drain blocks, water backs up and eventually leaks onto your kitchen floors.
How to Identify a Clogged Defrost Drain
If you notice water pooling beneath the produce drawer or at the bottom of your refrigerator compartment, a clogged defrost drain is often the culprit. You may also notice frost buildup on the rear freezer wall if the drainage system isn’t functioning properly.
Damaged Door Gasket
Impact of a Broken Door Seal
The gasket or rubber seal around your refrigerator door creates an airtight seal when closed. When this seal becomes damaged or worn, warm air from your kitchen enters the refrigerator, creating excess condensation that can drip and pool as water.
Signs of Gasket Problems
Check your entire rubber seal for any tears, gaps, or areas where it doesn’t press firmly against the fridge frame. You might notice beads of water begin to form around the door if the tight seal is compromised.
Water Supply Line Issues
Loose Connections
Modern refrigerators with a water dispenser or built-in ice maker have water lines running to them. Loose connections at the water inlet valve or water shut-off valve can cause water leakage.
Damaged Water Supply Line
Physical damage to the water connection or supply line can lead to refrigerator water leaks. Look for any cracks, kinks, or signs of wear in the lines that connect your fridge to the water supply.
Ice Maker Problems
Malfunctioning Ice Production
Issues with ice production can cause water to back up and leak. If your ice maker is producing fewer ice cubes than usual or showing abnormal ice production, it might be contributing to your leaky refrigerator.
Frozen Water Lines
Cold temperatures can sometimes cause the water lines to freeze, leading to blockages that result in leaks when they partially thaw.
Condensation Issues
High Humidity Levels
Excessive humidity in your kitchen can cause extra condensation to form on the outside of your refrigerator. This is technically not a leak but can still result in water puddling around your appliance.
Temperature Setting Too Low
If your internal temperature is set extremely low, it can cause excess moisture inside the fridge, leading to condensation that eventually forms water droplets.
DIY Fixes for Refrigerator Leaks
Clearing a Clogged Defrost Drain
Step-by-Step Process
- Unplug your refrigerator for safety.
- Locate the defrost drain hole in your freezer compartment.
- Use warm water to flush the drain tube.
- For stubborn blockages, use a pipe cleaner or coat hanger to gently remove the buildup of debris.
- Clean the drain cover and surrounding area to prevent future buildup.
Preventative Maintenance
Regularly clean your defrost drain tubes every 3-6 months to prevent minor blockage from developing into a more serious issue.
Fixing Door Seal Problems
Cleaning the Gasket
- Create a mixture of soapy water using mild soap.
- Thoroughly clean the rubber seal with the solution.
- Dry completely with a clean kitchen towel.
- Check corner gaskets particularly carefully as they often wear first.
Replacing a Damaged Seal
If cleaning doesn’t solve the issue, you may need to replace the damaged seal:
- Measure your current gasket.
- Purchase a replacement specific to your fridge model.
- Remove the old gasket (usually held in place by screws or fitted into a channel).
- Install the new gasket, ensuring it sits ½ inch taller than needed to allow for proper compression.
Addressing Water Line Issues
Tightening Connections
- Pull your refrigerator out from the wall (about an inch).
- Check all water connections for signs of leaking.
- Tighten any loose connections with an appropriate wrench.
- Test the water dispenser to ensure proper water flow.
Replacing Damaged Lines
If you find cracks or damage in the water lines:
- Turn off the water shut-off valve.
- Disconnect the damaged section.
- Replace with appropriate refrigerator water line.
- Test for leaks by turning the water back on and checking for drips.
Resolving Ice Maker Problems
Cleaning the Ice Maker
- Turn off ice production.
- Remove any ice cubes.
- Clean components with a mild solution of warm water and soap.
- Check for any ice buildup that might be obstructing normal function.
Checking Water Pressure
Ensure your water pressure is adequate for proper ice maker operation:
- Fill a quarts of water container from your water dispenser.
- If it takes more than 10 seconds to fill, your water pressure may be too low.
- Check for kinks in the line or partially closed shut-off valves.
Managing Condensation
Adjusting Temperature Settings
- Set your refrigerator temperature between 37-40°F (3-4°C).
- Set your freezer around 0°F (-18°C).
- Allow 24 hours for the temperature to stabilize after making adjustments.
Controlling Kitchen Humidity
- Use a dehumidifier in a humid environment or busy kitchen.
- Ensure proper ventilation when cooking.
- Keep the refrigerator away from heat sources that might raise ambient temperature.
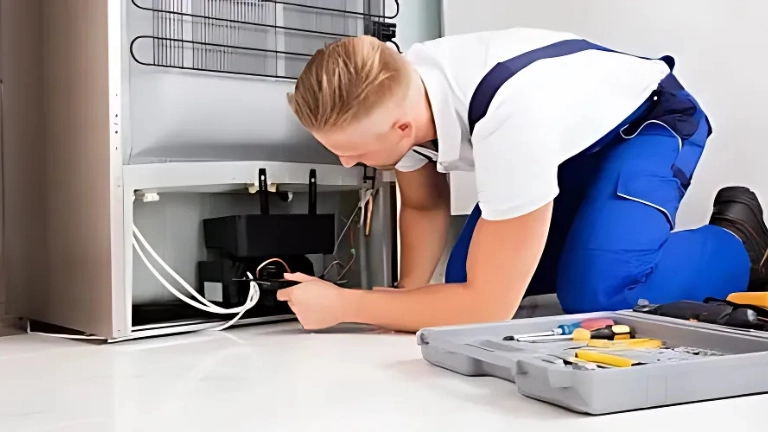
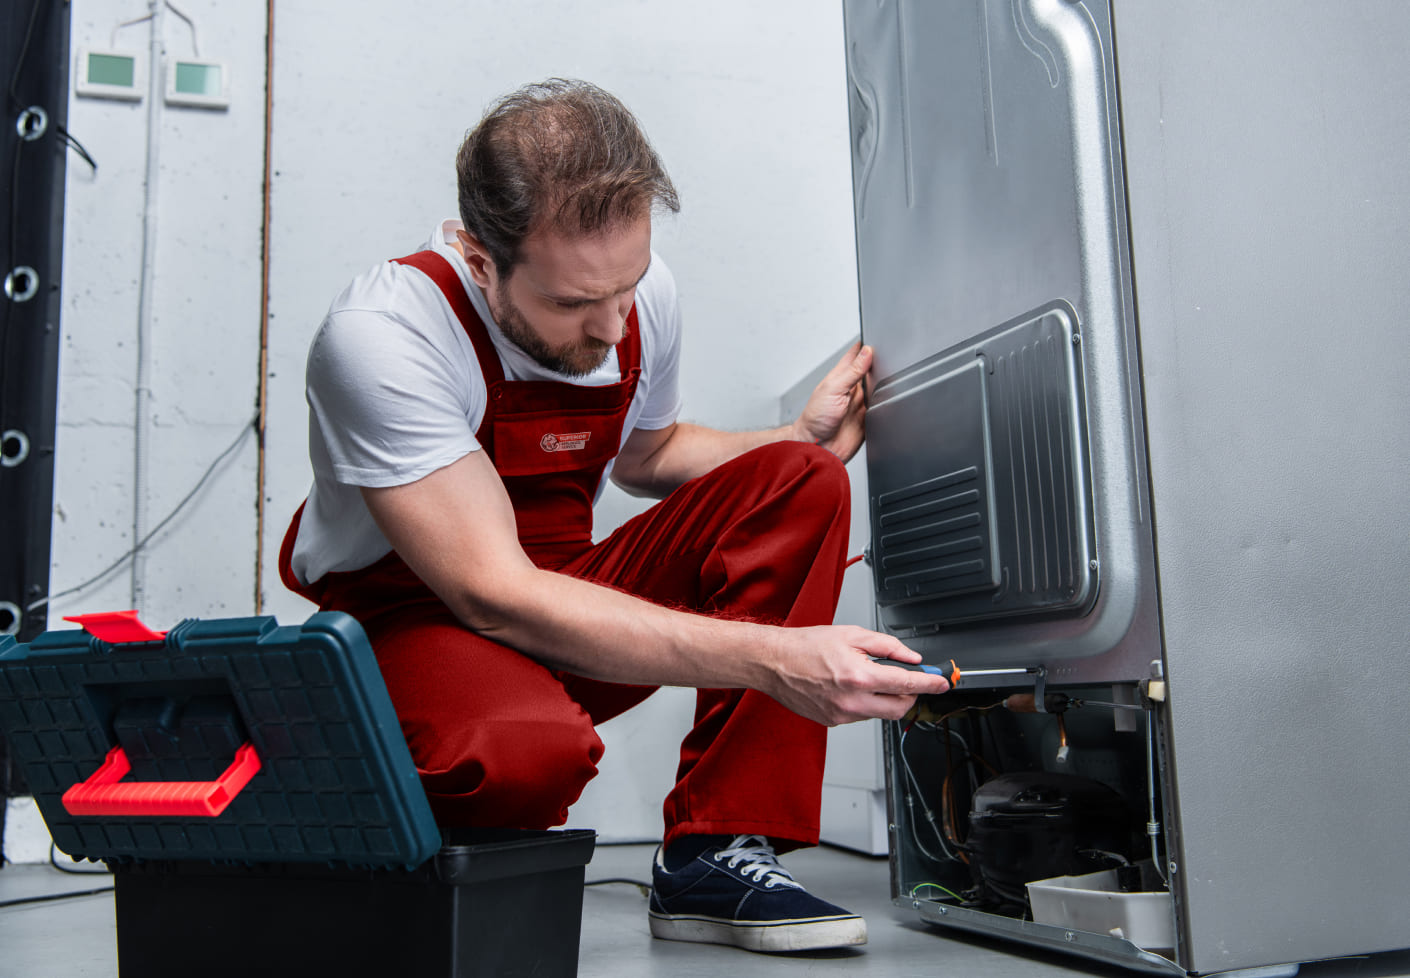
Advanced Troubleshooting
Checking the Drain Pan
The drain pan collects water during the defrost cycle. Sometimes it can crack or become misaligned:
- Locate the access panel (usually at the bottom of the fridge).
- Remove the panel to expose the drip tray.
- Check for cracks or misalignment.
- Ensure the pan isn’t overflowing due to excessive evaporation.
Inspecting Evaporator Coils
Frost-covered evaporator coils can indicate problems with the defrost heater or defrost timer:
- Unplug the refrigerator.
- Access the evaporator coils (usually behind a panel in the freezer).
- Check for excessive frost on the evaporator fins.
- If completely covered in an ice block, you may have a defrost system issue.
Testing the Water Filter
A bad water filter can cause water discoloration and leaks:
- Locate your water filter (usually inside the refrigerator or at the base).
- Remove and inspect for damage or clogged water particles.
- Replace if necessary with a filter specific to your model.
- After replacement, run several glasses of water through to flush the system.
Examining the Water Inlet Valve
The water inlet valve controls water flow to the dispenser and ice maker:
- Unplug the refrigerator and turn off the water.
- Access the water inlet valve (usually on the back of the fridge).
- Check for mineral buildup or debris.
- Clean valve with soap and water if necessary.
- Check for loose electrical connections to the valve.
When to Call a Professional
Signs You Need Expert Repairs
Multiple Leaks
If you’re dealing with water leaking from several areas, it may indicate complex issues with essential components.
Refrigerant Leaks
If you notice a sweet smell along with water leakage, you might be dealing with refrigerant leaks which require professional repair.
Electrical Component Issues
Water near electrical components or temperature sensor issues should be addressed by a qualified technician to avoid safety hazards.
What to Expect from Professional Service
Diagnostic Process
A service professional will:
- Inspect all potential leak sources.
- Check temperature settings and sensors.
- Examine the defrost system including the defrost heater and timer.
- Test the water dispenser tank and supply system.
Repair Options
Depending on the diagnosis, repairs might include:
- Replacing damaged components like the defrost drain hose.
- Repairing loose connections.
- Addressing issues with the water inlet valve or drain valve.
- Fixing problems with the condenser coils or evaporator coils.
Why Choose Toronto Refrigeration
Experienced Technicians
At Toronto Refrigeration, our qualified technicians have extensive experience dealing with all types of refrigerator leak issues across every make and model. Our experts are trained to quickly identify the culprits behind fridge water leaks, from simple defrost drain blockage to complex problems with the internal components or water dispenser systems.
Comprehensive Service
We don’t just fix the immediate issue – our technicians perform a thorough inspection of your appliance to identify potential problems before they cause extensive appliance water damage. From checking evaporator coils to testing the ice maker functionality, we ensure all systems are working optimally to prevent future leaks.
Customer-Focused Approach
We understand how disruptive refrigerator problems can be to your daily routine. That’s why we prioritize quick response times and same-day service when possible. Our technicians arrive with the tools and parts needed to fix common refrigerator issues on the first visit, and we take the time to explain the problem and solution so you can keep your food fresh without worry of future leakage.
Preventative Maintenance Tips
Regular Cleaning Routine
Cleaning the Interior
- Remove frozen dinners and food items.
- Wipe down surfaces with a mild solution of soapy water.
- Pay special attention to the drain of debris in the back of the fridge.
- Clean the produce drawer where excess moisture often collects.
Exterior Maintenance
- Vacuum condenser coils every 6 months to remove dust buildup.
- Wipe down the exterior with appropriate cleaners.
- Clean behind and under the fridge to prevent debris accumulation.

Proper Usage Habits
Door Management
- Minimize how long doors remain open to prevent extra condensation.
- Ensure doors close properly after each use.
- Don’t overload the door shelves as this can affect the seal.
Storage Best Practices
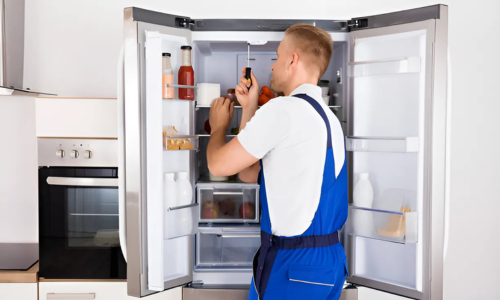
- Allow hot foods to cool before refrigerating to reduce extra moisture.
- Cover liquids and foods to prevent excess humidity inside.
- Organize items to allow proper air circulation.
Regular Inspections
Monthly Checks
- Inspect your refrigerator for leaks, especially around the water dispenser.
- Check door gaskets for signs of wear.
- Listen for unusual sounds that might indicate component issues.
Seasonal Maintenance
- Deep clean the refrigerator quarterly.
- Check all water connections and tighten if necessary.
- Inspect the drain pan and clean if needed.
Conclusion
Water leaking from your refrigerator is a problem that shouldn’t be ignored, as even small amounts of water can eventually lead to significant damage to your kitchen floors and the appliance itself. By understanding the common causes – from clogged defrost drains and faulty door gaskets to issues with water lines and ice makers – you can often identify and fix the problem before it requires professional repair services. Regular maintenance and proper usage habits are key to preventing refrigerator leaks in the first place. Should you encounter a leak that seems beyond a simple DIY fix, don’t hesitate to contact appliance experts like those at Toronto Refrigeration. Their experienced technicians can diagnose and resolve the issue quickly, saving you from the headache of dealing with damaged water connections and extensive cleanup.